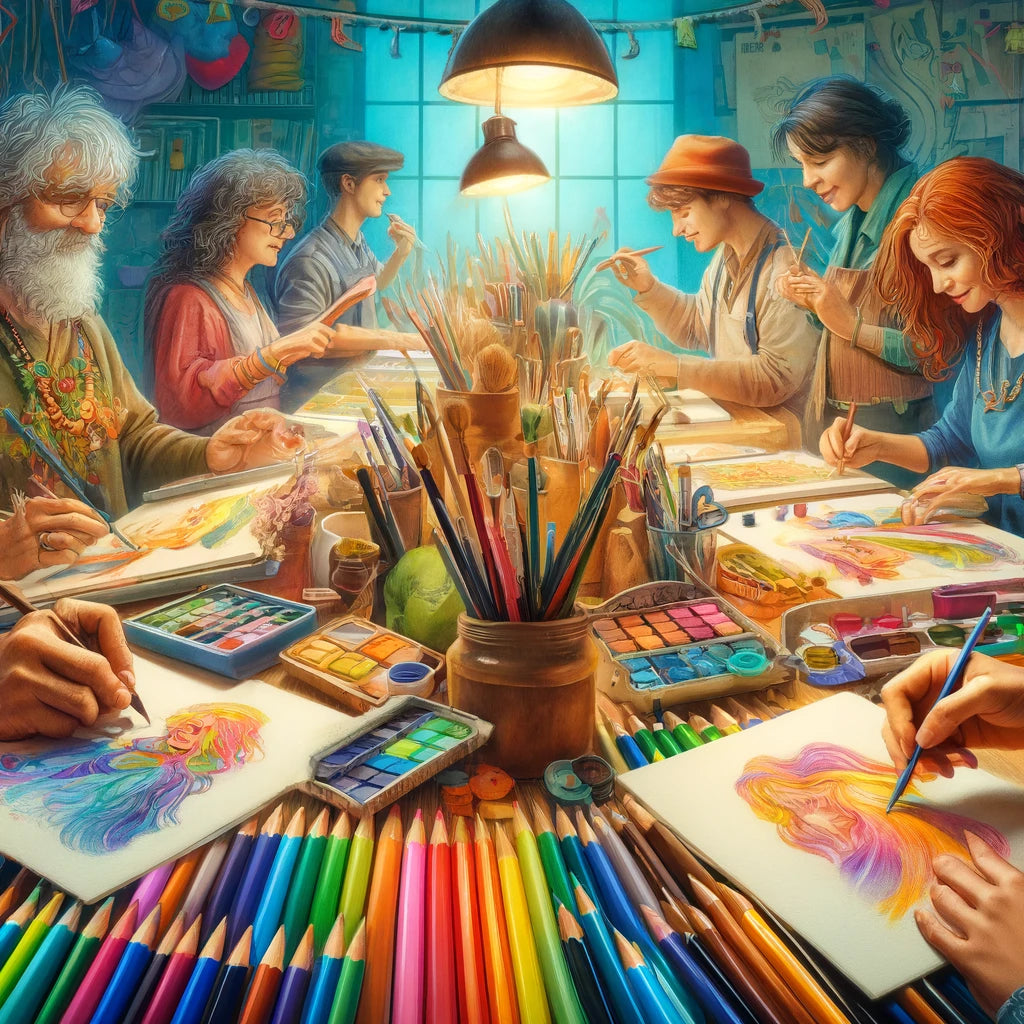
Are you ready to take your colored pencil game to the next level? Blending colored pencils can be a bit tricky, but with a few simple techniques, you'll be creating smooth, seamless color transitions in no time.
I've been there, trust me. I've spent countless hours hunched over my sketchbook, trying to figure out how to make my colored pencil drawings look more polished and professional. But after years of trial and error (and a few frustrating moments), I've discovered some tried-and-true methods that I can't wait to share with you.
So, grab your favorite set of colored pencils, and let's dive in! Together, we'll explore the wonderful world of blending and unlocking the secrets to creating stunning artwork that will make your friends and family say, "Wow, you made that?"
Table Of Contents:
- Blending Colored Pencils: Techniques and Tools
- Solvents and Mediums: Enhancing Blendability
- White Pencil Blending: Highlighting and Softening Edges
- Conclusion
Blending Colored Pencils: Techniques and Tools
Blending colored pencils is where the magic happens. It's how you take your coloring to the next level, transforming simple strokes into seamless works of art. Over the years, I've experimented with tons of different blending methods and tools. Some worked better than others, but they all taught me something new about the colored pencil blending process. In this post, we'll explore five essential techniques: burnishing, blending stumps, colorless blenders, solvents, and white pencil blending. Each one brings something unique to the table, giving you a range of options for creating smooth, professional-looking blends. So grab your favorite set of colored pencils and let's dive in.
Burnishing: Creating Smooth Blends with Pressure
Burnishing is a game-changer when it comes to colored pencil blending. It's a technique that involves applying heavy pressure with a colored pencil to create a smooth, shiny surface. The key is to use a light touch at first, gradually building up layers of color until you've filled in all the white grain of the paper. Then, you'll want to really bear down on your pencil, using firm pressure to burnish the layers together into a seamless blend.
In my experience, the burnishing process works best with soft-core colored pencils like Prismacolor Premier. These pencils have a higher wax content, which allows the pigment to really melt together under pressure. The result is a beautiful, almost paint-like finish with rich, vibrant color. One tip I've learned over the years is to always burnish with a lighter color over darker layers. This helps to fill in any remaining white spots and creates a smooth, even blend. With a little practice, you'll be amazed at the stunning gradients and transitions you can achieve using the burnishing method.
Blending Stumps and Tortillons: Smudging for Seamless Transitions
Blending stumps and tortillons are must-have tools for any colored pencil artist. These tightly wound paper tools allow you to smudge and blend colored pencil pigments without adding any additional color. They're especially handy for blending in small areas or creating smooth transitions between colors. I like to use blending stumps on textured papers like Strathmore Bristol vellum. The tooth of the paper can make it tricky to achieve a smooth blend with pencils alone, but a blending stump glides right over those bumps and ridges, creating a seamless transition.
When working with blending stumps, I've found that it's best to start with a light touch and build up gradually. You can always go back and blend more, but it's tough to undo if you overdo it. Another great thing about blending stumps is that they come in different sizes, so you can choose the perfect one for the area you're working on. A small, pointed stump is great for blending fine details, while a larger, rounded one is ideal for bigger areas. With a little experimentation, you'll find that blending stumps and tortillons are incredibly versatile tools that can take your colored pencil art to new heights.
Colorless Blenders: Dissolving Pigments for Effortless Blending
Colorless blenders are like magic wands for colored pencil artists. These special pencils contain a wax-based core without any pigment. When applied over layers of colored pencil, they help to dissolve and blend the colors together, creating a smooth, seamless effect. I've found that colorless blenders work especially well with oil-based pencils like Faber-Castell Polychromos. The wax binder in these pencils tends to be a bit more resistant to blending, but a colorless blender can really help to break down those barriers and create a smooth transition.
One thing to keep in mind when using colorless blenders is that they can slightly lighten the colors you're blending. To counteract this, I like to start with a slightly darker base layer than I would normally use. Another great thing about colorless blenders is that they're incredibly easy to use. Simply color over your existing layers with the blender pencil, using light to medium pressure. The more you blend, the smoother and more seamless the transition will become. If you're looking for an effortless way to achieve professional-looking blends, colorless blenders are definitely worth adding to your colored pencil toolkit.
Solvents and Mediums: Enhancing Blendability
Solvents and mediums can take your colored pencil blending to a whole new level. These liquids work by dissolving the binder in colored pencils, allowing the pigments to flow together more easily. The result is a smooth, painterly effect that's perfect for creating soft transitions and gradients.
Baby Oil
Baby oil is a gentle solvent that's great for blending colored pencils. Simply dip a cotton swab or paper towel in a small amount of baby oil and gently rub it over your colored pencil layers. The oil will dissolve the wax binder, allowing the pigments to blend together seamlessly. Just be sure to use a light touch, as too much oil can cause the colors to become muddy or oversaturated.
Mineral Spirits
For a stronger blending effect, try using odorless mineral spirits. These solvents are more powerful than baby oil and can really help to break down the binder in your pencils. To use mineral spirits, simply dip a cotton swab or soft tissue in a small amount of the solvent and gently blend your colored pencil layers. The colors will melt together, creating a smooth, seamless transition. Just be sure to work in a well-ventilated area when using mineral spirits, as the fumes can be strong.
Rubbing Alcohol
Rubbing alcohol is another great solvent for blending colored pencils. It works similarly to mineral spirits but evaporates more quickly, making it a good choice for smaller areas or quick blending. To use rubbing alcohol, simply dip a cotton swab or paper towel in the solvent and gently blend your colored pencil layers. The alcohol will dissolve the binder, allowing the pigments to flow together smoothly.
Zest-It Pencil Blend
For a more specialized blending solution, try Zest-It Pencil Blend. This medium is designed specifically for use with colored pencils and can create incredibly smooth, painterly effects. To use Zest-It Pencil Blend, simply apply a small amount to a brush or blending stump and work it into your colored pencil layers. The medium will dissolve the binder, allowing the pigments to blend together effortlessly.
One thing to keep in mind when using solvents and mediums is that they can affect different brands and types of pencils differently. Oil-based pencils like Faber-Castell Polychromos tend to work best with solvents, while wax-based pencils like Prismacolor Premier may require a bit more finesse. As with any new technique, it's always a good idea to experiment on a scrap piece of paper before applying solvents or mediums to your final artwork. With a little practice and patience, you'll be amazed at the stunning blending effects you can achieve.
White Pencil Blending: Highlighting and Softening Edges
White pencils are an often-overlooked tool in the colored pencil artist's arsenal. But when it comes to blending and highlighting, they can be incredibly useful.
A white pencil can help to soften harsh edges, blend colors together, and add bright highlights to your artwork. One of my favorite ways to use a white pencil is for blending light colors. By layering a light colored pencil over a white base, you can create a soft, diffused effect that's perfect for backgrounds or subtle transitions. To do this, simply lay down a layer of white pencil where you want the light color to be. Then, gently layer your light colored pencil over the white, using a light touch and gradually building up the color. The white pencil will help to blend the light color into the paper, creating a smooth, seamless transition. Another great way to use a white pencil is for highlighting.
By adding a few strategic strokes of white to your artwork, you can create the illusion of bright, shining highlights on metal, glass, or other reflective surfaces. To create highlights with a white pencil, simply layer the white over your existing colored pencil layers, using a sharp point and a light touch. Focus on the areas where light would naturally hit the object, such as the edges or high points. You can also use a white pencil to soften harsh edges or blend colors together. Simply run the white pencil along the edge where two colors meet, using a light touch and a gentle back-and-forth motion. The white pencil will help to blur the line between the colors, creating a soft, seamless transition.
One thing to keep in mind when using a white pencil for blending is that it can slightly lighten the colors you're working with. To counteract this, you may want to start with slightly darker colors than you would normally use. You can also try layering the white pencil under your colored pencil layers, rather than over them. This can help to create a subtle, diffused effect without lightening the colors too much.
With a little experimentation and practice, you'll find that a white pencil can be an incredibly versatile tool for blending, highlighting, and softening edges in your colored pencil artwork.
Blending colored pencils isn't just about mixing colors; it's an art that elevates your work to professional levels. You've got five killer techniques: burnishing for shine, stumps for smudging, colorless blenders for seamless transitions, solvents to melt pigments together, and white pencils to highlight and soften. Each brings its own flair to the table, making blending a game-changer in creating stunning pieces.
Conclusion
You started as a curious color enthusiast, and now you're a blending pro! With these techniques in your arsenal, you're ready to tackle any colored pencil project with confidence.
Remember, the key to mastering how to blend colored pencils is practice, patience, and a willingness to experiment. There's magic in trying things for the first time - venturing further than we ever thought we could.
So, what are you waiting for? Sharpen your pencils; it's about to get artsy. Crank up the volume on tracks you can't help but groove to and paint outside every line with bold strokes of imagination. The world of color is yours to explore, and I can't wait to see the masterpieces you create.
To further enhance your drawing skills and explore new creative avenues consider diving into the perfect drawing book to unleash your creativity.

