


Picture this: you're sketching away in your trusty sketchbook, pouring your heart and soul onto the page. But then, disaster strikes. Your hand brushes against the graphite, leaving an unsightly smudge that ruins your masterpiece. Sound familiar? I've been there, and it's beyond frustrating.
But here's the thing - it doesn't have to be this way. You can prevent graphite from smudging in your sketchbook with a few simple tricks. And I'm not talking about some magic voodoo or expensive gadgets. These are tried-and-true methods that artists swear by.
So, are you ready to say goodbye to smudged sketches and hello to clean, crisp drawings? Let's dive in and explore how to keep your graphite where it belongs - on the page, not on your hands!
Table of Contents:
- Use Wax Paper or Glad Wrap to Prevent Smudging
- Choose the Right Pencil to Minimize Smudging
- Apply Fixative Spray to Protect Your Drawings
- Use Page Protectors or Hardbound Sketchbooks
- Combine Multiple Methods for Optimal Results
- Conclusion
Use Wax Paper or Glad Wrap to Prevent Smudging
If you're like me, you've poured your heart and soul into a drawing only to have it smudged and ruined when you close your sketchbook. It's beyond frustrating. But there's a simple solution that I swear by: wax paper. When you've completed your masterpiece, cut a piece of wax paper to match the size of your sketchbook page. Carefully place it over your drawing and secure it with a piece of masking tape at the top. This creates a protective barrier that keeps your artwork pristine and smudge-free. Plus, wax paper sheets are super affordable and easy to find at any grocery store. No wax paper on hand? No problem. Glad Wrap works just as well. Simply cut a piece to size and secure it the same way you would with wax paper. It's like giving your drawing a big, protective hug.
Secure Wax Paper with Tape or Rubber Bands
Now, I know what you're thinking. "Won't the wax paper just slide around and smudge my drawing anyway?" Not if you secure it properly. I like to use a piece of masking tape at the top of the page, but you can also wrap tape around to the back of the page for extra hold. Some artists even swear by using rubber bands to keep their sketchbook pages tightly closed. Just be careful not to snap the rubber band directly onto your drawing - that's a surefire way to undo all your hard work in an instant.
Choose the Right Pencil to Minimize Smudging
As any artist knows, not all pencils are created equal. The type of pencil you use can make a huge difference in how much your drawings smudge. If smudging is the bane of your existence, it's time to get familiar with H-grade pencils. These bad boys have harder lead, which means they leave lighter, crisper lines that are way less prone to smudging. In fact, I rarely have any issues with smudging when I use a 4H pencil for sketching.
Understand the Graphite Scale
Okay, let's talk graphite grades. Pencils are rated on a scale from 9H (the hardest) to 9B (the softest), with HB sitting pretty in the middle. The harder the pencil, the less graphite it deposits on the page, and the less likely it is to smudge. This article does a great job of explaining the different grades and what they're best used for.
Experiment with Different Pencil Grades
Every artist is different, so it's important to experiment with various pencil grades to find what works best for you and your style. I like to use H pencils for light sketching and initial layers, then switch to softer B pencils for darker shading and details. It's all about finding that perfect balance between achieving the look you want and minimizing those pesky smudges.
Apply Fixative Spray to Protect Your Drawings
When it comes to preserving your artwork, fixative spray is your best friend. This magical substance creates a protective barrier over your drawing, preventing smudging and keeping your hard work safe from harm. Not all fixatives are created equal, so it's crucial to choose one that's compatible with the medium you're using. For graphite drawings, I swear by Krylon Workable Fixative. It allows me to layer and build up my drawings without worrying about smudging. If you're looking for a final fixative to seal in your finished piece, Grumbacher Final Fixative is a great option.
Apply Fixative in Thin Layers
When it comes to applying fixative, less is definitely more. Trust me, I've made the mistake of overspraying and ended up with a sticky, glossy mess. The key is to apply the fixative in thin, even layers, holding the can about 12-15 inches away from your drawing. I like to start with a light coat sprayed horizontally, let it dry for 15 minutes, then follow up with a second coat sprayed vertically. This ensures even coverage without oversaturating the paper.
Allow Fixative to Dry Completely
Patience is a virtue, especially when it comes to fixative. It's important to let each layer dry completely before adding another or attempting to work on top of it. I usually give my drawings at least 30 minutes to an hour to dry, just to be safe. And for the love of all that is holy, make sure you're using fixative in a well-ventilated area. That stuff is potent and can do a number on your lungs if you're not careful. I always spray outside or near an open window.
"When your drawing is done, a spray fixative prevents pencil from smudging. You also can't erase anymore, which is why I say to use it when you're done. If you use pencil in a sketchbook, you can lightly spray each page when you're done, but it will leave your sketchbook with the chemical smell of the spray if you don't leave it open to air out a bit first." - Myra Naito
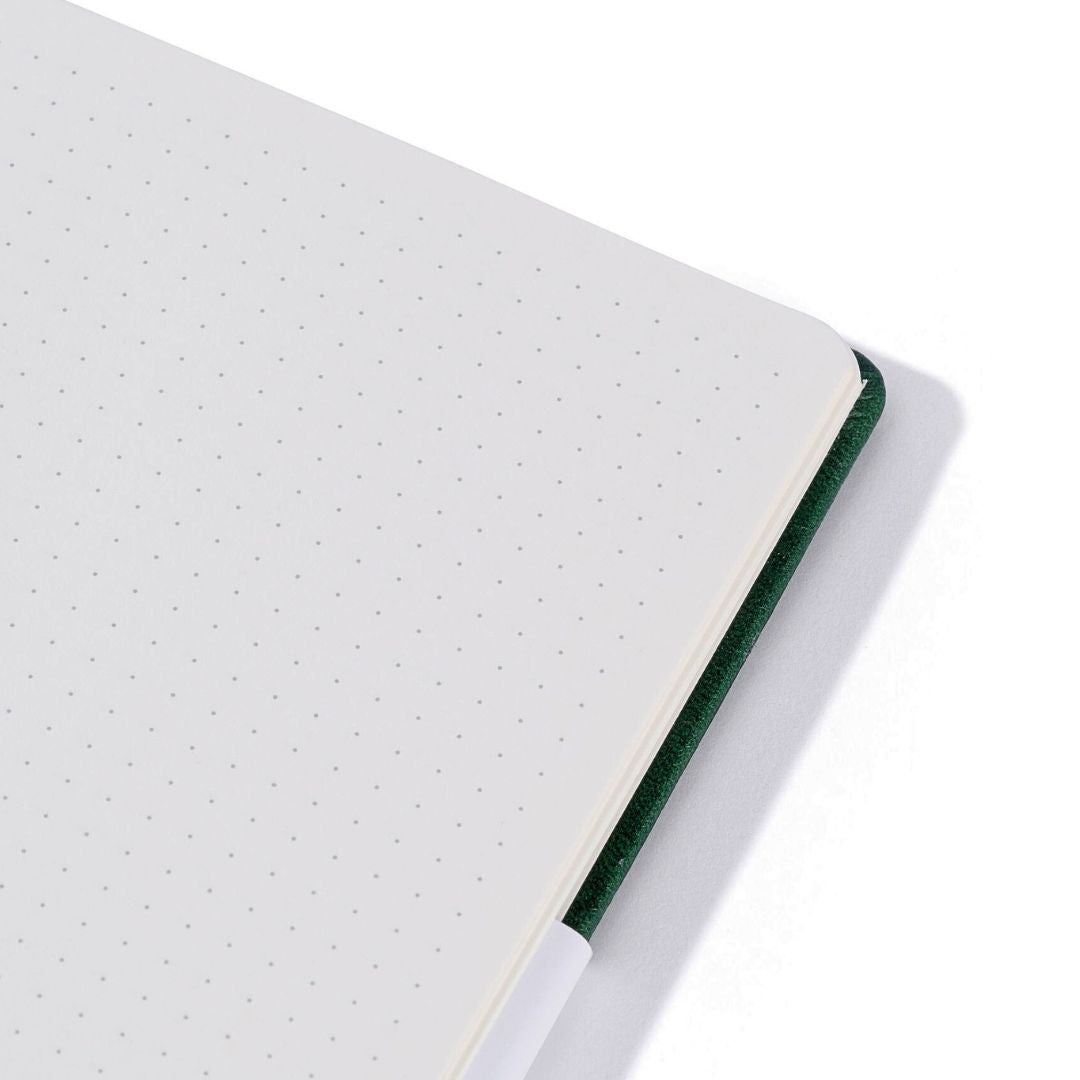
Use Page Protectors or Hardbound Sketchbooks
If you're serious about preserving your drawings, it might be time to invest in some page protectors or a hardbound sketchbook. These simple tools can make a world of difference in keeping your artwork safe and smudge-free. Page protectors are like little plastic pockets that you can slide your drawings into. They create a clear barrier between your artwork and the rest of the world, preventing smudging and damage. I like to use page protectors for my finished pieces, especially if I plan on storing them in a binder or portfolio. It's an easy way to keep everything organized and protected.
Invest in a Hardbound Sketchbook
If you're tired of dealing with flimsy, spiral-bound sketchbooks that fall apart and let your pages rub together, it might be time to upgrade to a hardbound sketchbook. These sturdy books have a rigid cover that keeps your pages flat and prevents them from shifting around and smudging your drawings. Plus, there's just something so satisfying about working in a high-quality sketchbook. It makes me feel like a real artist.
Consider Sketchbook Paper Quality
Not all sketchbook paper is created equal, and the quality can have a big impact on how much your drawings smudge. Cheaper, thinner paper tends to be more absorbent, which means it soaks up more graphite and is more prone to smudging. On the other hand, higher-quality paper with a smooth surface, like ours, allows you to lift graphite off more easily, resulting in cleaner lines and less smudging. It's worth investing in a good sketchbook with paper that suits your needs.
Combine Multiple Methods for Optimal Results
Now that we've covered all the different ways to prevent smudging, it's time to put them into practice. The key is to experiment and find the combination of methods that works best for you and your artistic style. There's no one-size-fits-all solution to preventing smudges, so don't be afraid to mix and match techniques until you find your perfect formula. Maybe you like using an H-grade pencil on smooth bristol paper, with a sheet of wax paper under your hand to prevent smudging as you draw. Or perhaps you prefer to work with softer pencils and rely on fixative to keep your drawings clean. The possibilities are endless, so get creative and see what works for you.
Adapt Methods to Your Drawing Style
Of course, the methods you use to prevent smudging will also depend on the type of drawings you create. If you're working on detailed, technical illustrations, you might need to use harder pencils and be more precise with your fixative application. But if you prefer loose, expressive sketches, a simple protective sheet and careful hand placement might be all you need. Think about the subjects you like to draw and the techniques you use most often, then tailor your smudge-prevention approach accordingly.
Evaluate Results and Adjust as Needed
Finally, don't be afraid to evaluate your results and make adjustments as needed. If you find that your drawings are still smudging despite your best efforts, take a step back and consider what you could do differently. Maybe you need to try a different type of paper, or be more careful about how you store your sketchbook. Remember, preventing smudges is an ongoing process, and what works for one artist might not work for another. The key is to stay open-minded, keep experimenting, and never stop learning.
"For this I fall back on the basics. Tons of artists use pencil. Smudging is a common casualty of the medium. Even sketches in a closed sketchbook will smudge while being jostled around in a backpack. With a little thought and care, you can avoid this almost altogether." - My Sketch Journal
Stop smudges in their tracks by placing wax paper over your drawings, securing it with tape or rubber bands. Choose H-grade pencils for less smudging and apply fixative spray to protect your work. For extra safety, use page protectors or a hardbound sketchbook and pick high-quality paper. Mix these methods to find what best suits your style.
Conclusion
There you have it, folks - your ultimate guide to preventing graphite from smudging in your sketchbook. From using the right tools to employing clever techniques, you're now armed with a arsenal of smudge-busting strategies.
Remember, a little prevention goes a long way. By taking a few extra seconds to protect your drawings, you'll save yourself hours of frustration and heartache down the road. No more ruined sketches, no more smeared masterpieces.
So go forth and create with confidence, knowing that your graphite will stay put, no matter how much you sketch, erase, or rework. Your sketchbook is your playground, and with these tips, you're free to let your imagination run wild.
Now, if you'll excuse me, I have some smudge-free sketching to do. Happy drawing, my friends!